
Save up to 73% on plans
AI Multi-Shot Video Draft Generator
Generate an AI video draft from timed shot prompts; not automatic editing or a finished continuous film.
Kling 3.0
AI output preview
More AI Video Models & Effects





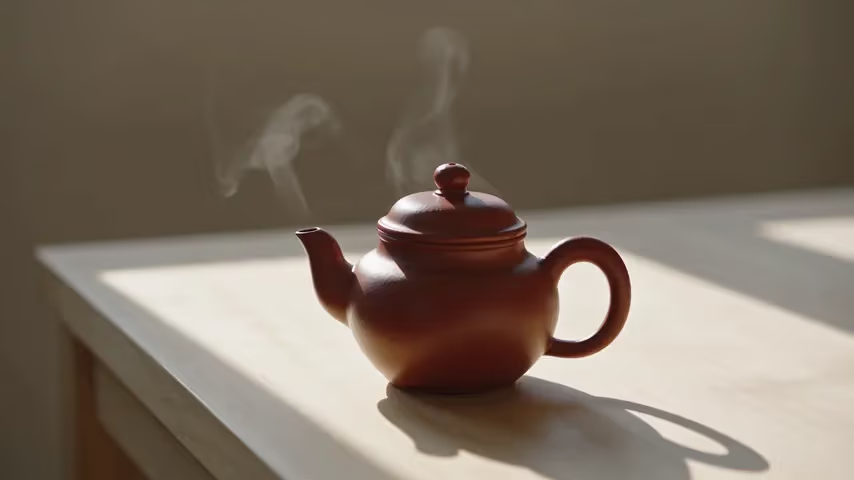


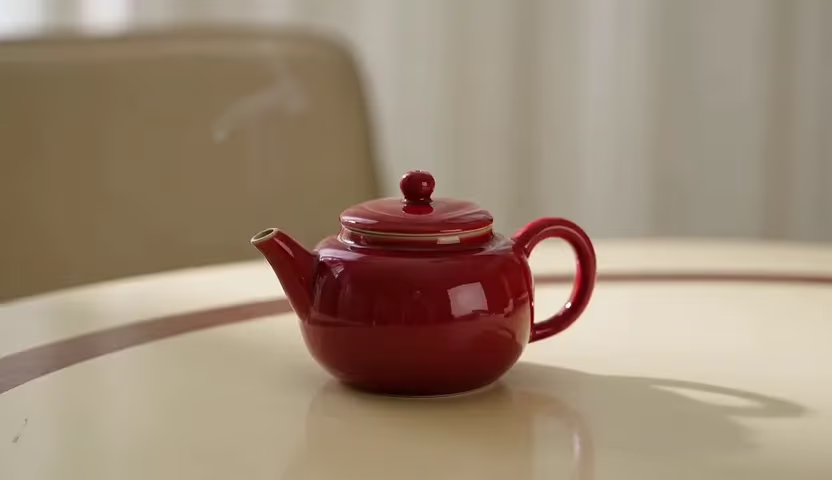
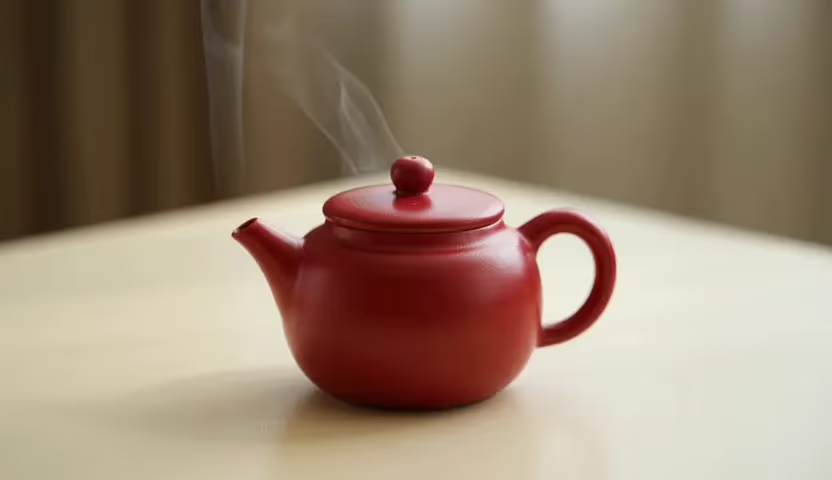
Draft a sequence before editing
This tool generates an AI video draft from a timed shot brief. It does not automatically edit source clips into a finished film, and requested cuts or visual continuity are not guaranteed. An establishing view and a detail view are instructions for the model to attempt, not independently editable timeline clips. Review the whole draft for whether the requested views appear, whether subject details remain stable and whether transitions make sense. Accept only useful material, then trim, arrange, add sound and finish it in your own editor. A successful generation means a file was returned; it does not mean the draft is ready to publish.
Write each shot as a separate instruction
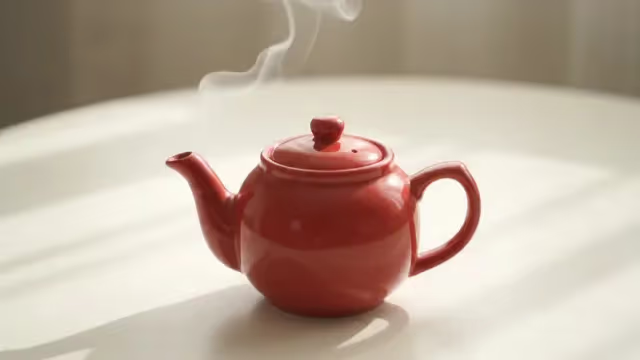
Open the multi-prompt control and edit the individual shot descriptions. Each entry needs a prompt and a duration; preserve valid JSON punctuation when editing this structured field. The default uses two shots of two seconds each. Keep their combined duration aligned with the selected video length. Avoid describing the entire sequence in every entry: repeat only the subject anchors, then describe what that particular camera sees. A concrete instruction such as a close-up of steam rising above a red teapot is easier to assess than a request for a stunning cinematic moment.
Protect the continuity anchors
Write down three or four visual properties that must survive the cut. For an object, these might be its color, silhouette, surface finish and position relative to another prop. For a consenting performer, they might be clothing, hairstyle and the object being held. Repeat those anchors in both shots. Keep the time of day and light direction consistent unless a deliberate time change is part of the idea. These instructions can reduce ambiguity, but generated identities and geometry still require review across the cut and through the final frame.
Choose framing that gives the edit a reason
A wide view followed by a detail view creates a simple reveal. A medium view followed by a reaction can communicate a change in attention. Two almost identical framings may feel like an accidental jump cut, so decide what new information the second angle adds. Do not add a new location, different costume, sudden weather change and complex camera move to the same short sequence. Test one editing idea at a time. Once its timing reads clearly, develop the scene through a separate, deliberate revision.
Use a reference image when appearance matters
Switch to image-to-video if you have an appropriate source frame. Choose an image that clearly establishes the main subject and surroundings, with enough room for the intended movement. An image can anchor appearance but cannot expose hidden surfaces perfectly or establish every future camera angle. Ask for a modest change of view when exact product shape matters. Do not assume an uploaded photograph guarantees identical details across a reverse shot. Compare the source and output at the opening, cut and ending.
Build a product reveal
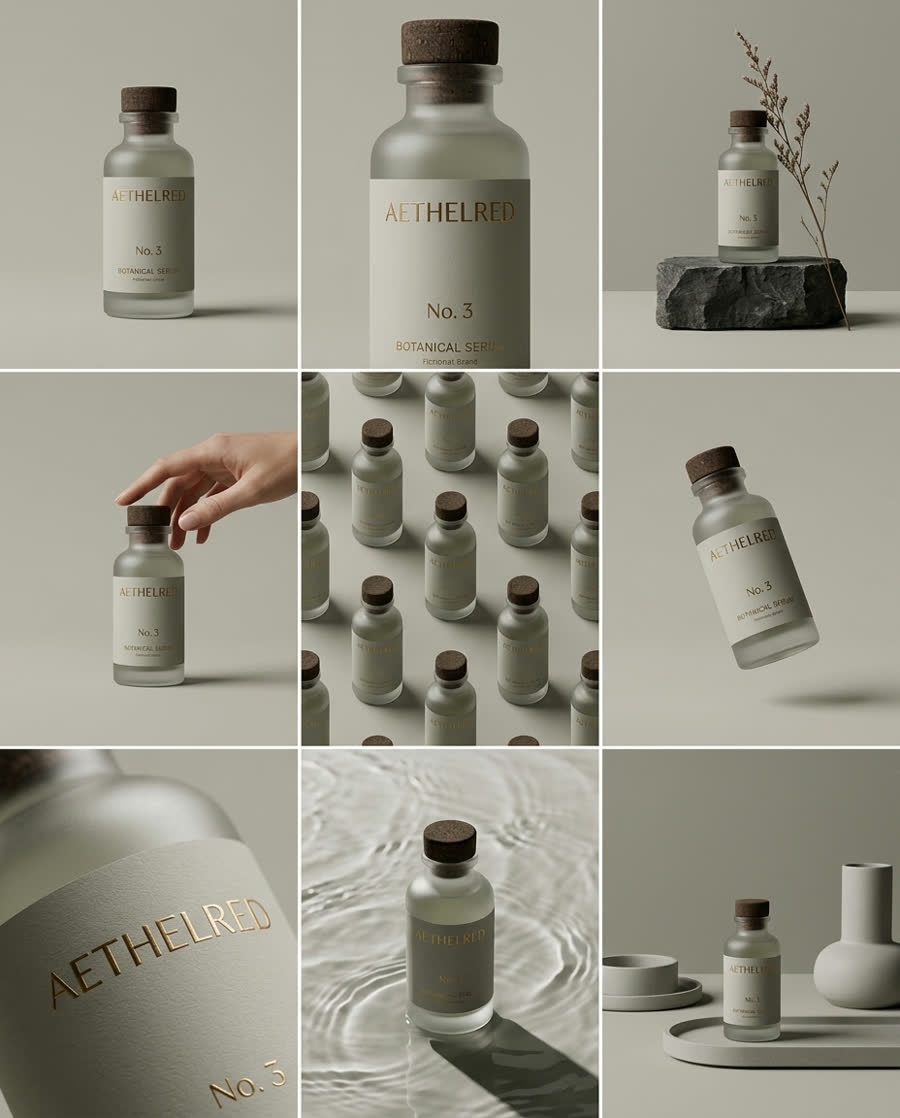
Begin with an ordinary view that makes the product recognizable, then reserve a closer frame for one feature. A teapot can move from its full silhouette to the steam at the spout; a shoe can move from its side profile to its material texture. Keep brand text outside the generated scene if exact lettering is essential, and add approved typography during finishing. The useful question is whether the second shot makes the feature clearer. Reject results that change a handle, invent an extra seam or alter the product between angles.
Previsualize a story beat
Use a short sequence to test an action and its consequence. A character can place a sealed letter on a table before the next shot shows another hand reaching toward it. Keep the action simple enough to read at the chosen duration. The generated clip helps you judge staging and attention before a longer production. It does not replace a shooting script, editable storyboard project or continuity supervisor. Record the prompt and any visible failure so that the next attempt improves a specific story decision instead of merely changing adjectives.
Review the cut at normal speed and frame by frame
Watch once without pausing to check whether the sequence is understandable. Then scrub near the transition and inspect subject shape, object count, lighting and motion direction. A generated dissolve is not the same as the hard cut you requested. Look for morphing hidden in the transition and for a second shot that restarts the action instead of continuing it. A technically successful task only means a file was returned. Keep a result only when its complete visual sequence serves the brief.
Keep timing and audio decisions separate
The default short sequence leaves little room for multiple actions or dialogue. Give each shot one readable beat. If a reveal happens too late, simplify the action before extending the whole clip. Decide whether generated sound is useful for the idea, then inspect it separately for unwanted voices or mismatched effects. Muting a clip during visual review can make editing problems easier to notice. Final music, captions and precise sound cues can be added to an accepted output in a conventional editor.
Change one part of the brief when revising
Save the original shot descriptions before editing. If the subject drifts, reinforce its visual anchors. If the transition is unclear, change the framing or simplify the action. If the pacing feels rushed, reconsider the number of beats. Changing subject, duration, ratio and camera behavior together makes it difficult to learn which adjustment helped. Keep a concise comparison note for each useful take and stop when the sequence communicates its purpose. The model selector is useful for general experiments, while this page is specifically organized around shot planning.
A practical two-shot brief to adapt
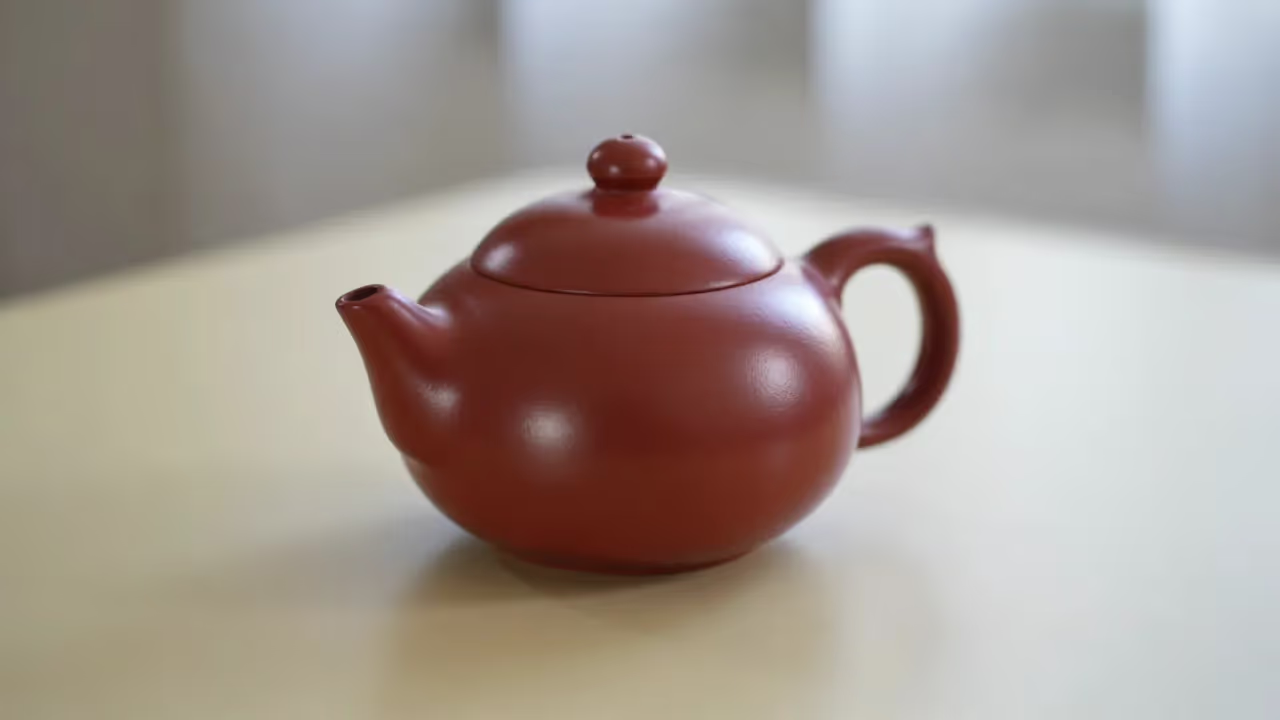
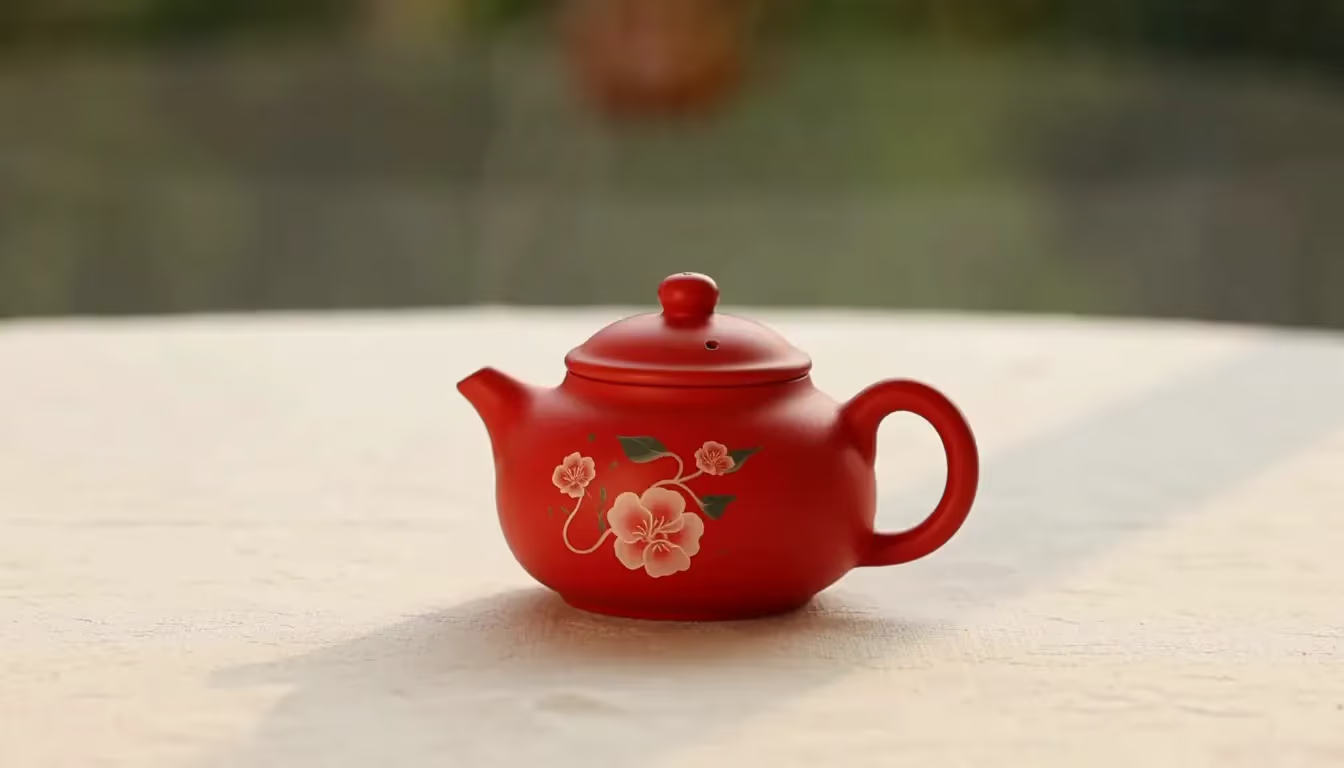
Imagine a small red teapot sitting on a pale table beside one empty cup. The opening shot establishes those two objects in steady daylight. The second shot moves closer to the spout as steam rises. The scene works because it asks the viewer to notice one detail without changing the location or adding an unrelated event. You can replace the teapot with another object while preserving the structure: establish the subject, then reveal a meaningful feature. Write the same material and lighting into both shot descriptions. Keep the cup in a consistent position if it remains visible, and avoid adding pouring action until the basic cut is readable.
What belongs in the structured shot field?
The structured list carries the individual shot instructions. Edit its prompt values as normal descriptive sentences and its duration values as supported whole seconds. The default list contains two entries, making it easy to see where one view ends and another begins. Do not paste a prose essay outside the JSON structure and expect it to become a shot list. If you remove an entry, reconsider both the timing and the story relationship. When structured shots are supplied, they drive the sequence; the general prompt field is not a second editing timeline. Review the actual parameter values before submission so your intended brief is the one being sent.
When does a sequence need fewer shots?
If the viewer must infer too much between cuts, simplify. A product introduction may only need a wide view and a detail, while a complicated exchange between characters may need more time than the selected clip offers. Compressing a long story into several tiny shots can produce motion that is technically present but difficult to understand. Remove a beat that does not change what the viewer knows. Give the remaining action enough time to begin and resolve. You can test another scene separately after finding a useful structure, but this page does not automatically assemble those independent outputs into a longer project.
How should screen direction be handled?
If the subject moves from left to right in the first shot, describe the continuation consistently in the next shot unless you deliberately want a reversal. Also track the side from which the light enters and where the main prop sits. These small relationships make cuts feel connected even when the framing changes. An unexplained direction change can look like a different action or location. When reviewing, temporarily ignore decorative details and follow only the subject path. If that path reads clearly, inspect appearance next. This order helps distinguish an editing problem from a rendering problem and makes the next prompt revision more focused.
What is the difference from a model page?
A model page introduces available capabilities and helps compare generation options. This tool starts with a particular production task: describing connected shots with explicit timing and reviewing whether the edit works. The default shot list, continuity guidance and review questions are intended for that task. You can still inspect the selected model in the generator, but a different model may not interpret the same structured fields. Keep the multi-shot workflow tied to a supported model and verify the output rather than assuming that every video model understands numbered cuts in the same way. Keep the same working shot structure when adapting the brief for another subject.
How do I prepare an accepted take for publication?
Open the actual video file, check its full duration and listen to any included audio before downloading a copy. Inspect it at the size viewers will see, especially if the final destination is a small mobile feed. Add accurate titles with ordinary text layers rather than asking the model to produce precise lettering inside the scene. Keep the original brief with the file so later revisions can preserve what worked. If you combine it with other footage, check the incoming and outgoing cuts in context. A good standalone clip can still need trimming when placed inside a larger story.
Design a sequence for a small screen
On a phone, the difference between an establishing view and a detail needs to be readable without careful study. Keep the first shot uncluttered and make the second shot focus on one feature. Small props or subtle gestures may disappear when the video is shown in a feed. Check the framing at the intended size before committing to a longer sequence. If you plan to add a headline, leave a quiet area that will remain clear in both shots. Avoid placing important action beneath platform controls or captions. After editing, watch the sequence once without sound and ask whether its basic idea still comes across. This is especially useful for a product reveal or a short social story whose audience may be scrolling quickly. Preserve the accepted brief so the next variation can change the subject without losing the working visual structure.
AI Multi-Shot Video Draft Generator FAQ
What should I check before submitting?
Sign in, review the selected model and the conditions displayed in the generator, then confirm that the source and prompt match your intended task. Browsing the page does not submit a generation.
How do I review and keep an output?
Wait for the task to finish, open the returned video and review the full duration. Keep the task in your history, then download a take that meets your brief. A completed task can still contain visual mistakes.
Can I change the model?
The selector shows available models. This workflow starts with Kling 3.0; other models can have different inputs and controls. Recheck the scene, prompt and settings after switching. Multi-shot planning requires a model that supports structured shot inputs.
What should I do when a result is inaccurate?
Identify the specific failure and simplify the next brief. A shorter camera move, cleaner reference or fewer actions may be easier to control. Do not publish a misleading property view or a visibly altered identity merely because the video plays successfully.
Does this automatically edit a finished film?
No. It generates an AI video draft from shot prompts. Cuts, subject continuity and timing require review, and final editing happens in your editor.
Prepare your next video draft
Review the shot prompts, generate a draft and finish accepted material in your editor.